

When creating jewelry photography, it’s important to remember all the elements that make up the image, and not just the jewelry itself. From brainstorming creative background ideas for jewelry photography to ensuring props complement without overshadowing the product, a lot goes into the perfect image to use online and offline. The same can be said when it comes to post-production editing: don’t forget the jewelry photo background cleaning and removal. With a luxurious and bright focal point like the jewelry piece, you might forget to also do jewelry background retouching.
When performing digital photo enhancement services, it’s important to remember to edit out even the smallest flaws in your background. It may be unnoticeable to most, but this can have an overall effect on the quality of the image jewelers use later on for their social media, product pages, online stores, or catalog. Here are some of the jewelry background retouching tips that can help you achieve the perfect jewelry images that bring out the best of each piece.
Know the Basics of Creating the Perfect White Background

A jewelry piece against a plain white background is a popular type of image most jewelers use for their catalogs and eCommerce pages. It’s possible to create the perfect white background in production with the right lighting or by using tools such as a lightbox. But if you don’t have the lighting equipment or have some flaws from production showing in your background, there are some steps you can take to create the perfect background.
Depending on the editing software you’re using, you may find that it offers features that make jewelry photo background removal easier. If not, you can do this manually by selecting the jewelry and placing it against a plain white background. From there, your background should be clean and require minimal changes. Aside from the background, this can also include details like the shadow of your jewelry for more depth. You can then retouch details of your jewelry to finish up post-production.
Even if you’ve taken the photos in a white background in the studio, be on the lookout for any potential flaws. Flaws like specks and dust particles can be visible on the image and affect the overall quality of your image. These flaws can eventually build-up and create an overall image that doesn’t meet your client’s expectations.
Pick Background Colors That Don’t Clash with Your Jewelry
Aside from a white background, jewelers may also want to work with other colored backgrounds to match their aesthetic. There’s no right or wrong answer as to which colors are best for jewelry, but keep in mind of your jewelry’s color, hue, saturation, and other adjustment settings that can affect the overall image. This also includes the color of your jewelry and your background, as well as your aesthetic.
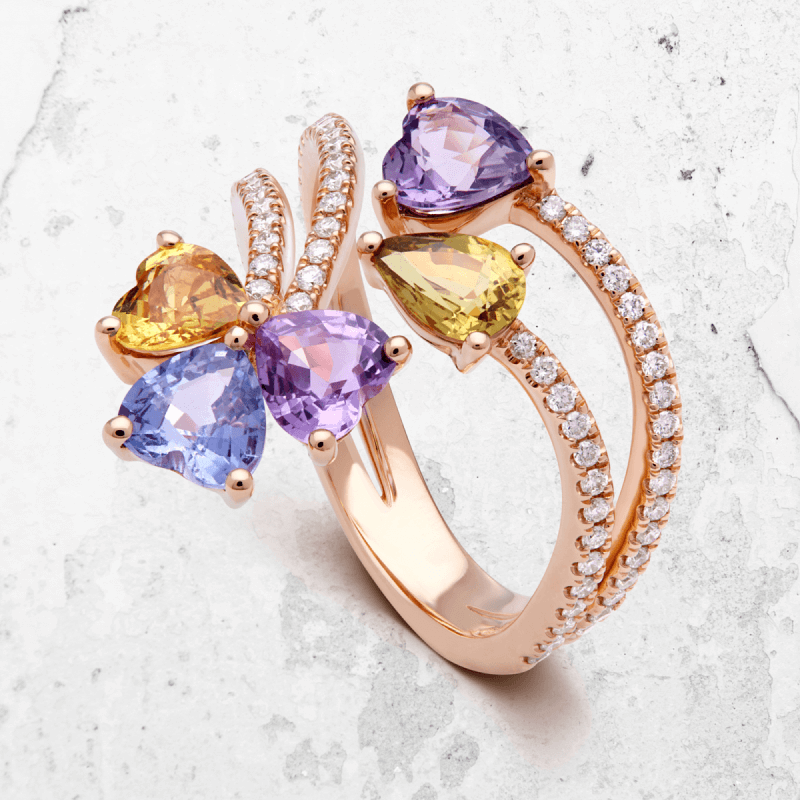
When performing jewelry background retouching, check how it looks when combined with your jewelry. For example, colored gem stones like emeralds or sapphires could lose their vibrancy in certain green and blue colors that dull the striking tones of the gem stone. On the other hand, if your jeweler’s brand aesthetic leans more towards luxury, you might want to avoid bold and bright unnatural colors that aren’t always associated with luxury jewelry pieces.
When in doubt, a neutral background is always best. White is the popular choice, while black is more dramatic and luxurious. Gray and beige are more modern choices, but this can require additional jewelry background retouching steps as it’s easy for unwanted shadows to be distracting with these background colors.
Create a Consistent Aesthetic

This jewelry background retouching tip is for those editing a set of images used for purposes like catalogs, product pages, and other uses where having a similar aesthetic and style can make it easier for customers to browse a jeweler’s collection. Having a consistent aesthetic and style allows people to browse and compare images with ease as they’re able to see similar areas of each piece.
It helps if you have editing software like Adobe Lightroom, which offers premade and custom presets that you can choose from. However, given the reflectiveness and shimmer of metal and gem stones, you might have to tweak some of the preset and custom settings to get the best results for each. But having a consistent base can create cohesive image sets.
Don’t Erase All Natural Shadows
Correct jewelry photo background cleaning and removal doesn’t always mean removing all the shadows on the image. When your remove all signs of shadows on an image with a plain background, it can make your jewelry look flat, boring, and dull. Keeping some of the shadows adds dimension and depth and directs the focus of someone looking at the piece.
In some cases, removing some of the shadow is necessary. For instance, if you didn’t have full control over your lighting during the photoshoot (e.g. you don’t have the ideal studio or equipment, you relied on natural lighting, etc.), you can find so many shadows in the background of your image. In some background colors like beige or gray, multiple shadows can also be distracting. In these cases, you can erase some of the shadows that can be distracting.
This step for jewelry photo editing services can often be tricky to do for editors with less experience. However, it’s much easier to remove natural shadows than to have to draw natural-looking shadows into your photo.
Don’t Over-Crop Your Background
Once you’ve gotten the right color and completed the jewelry background retouching, you might be considering cropping your image down to size. For most brands that use images for online catalogs or product pages, the size of all the product images should be the same. Ask their client if they have any guidelines on the size of your image.
Next, be careful not to over-do cropping. White space isn’t necessarily a bad thing, and too little white space can make your image feel crowded. You could also end up awkwardly cropping out the natural shadow of your image. A good rule of thumb is to always provide enough white space so that the jewelry piece’s smaller details are still visible but not too much that the edge of your piece is pixels away from the image border.
Achieve Flawless Jewelry Photos with Paper Boat Creative
These are just some of the tips we recommend when retouching the background of your image. Whether you’re going for a plain image, using props, or creating a themed photo to use for ads and social media posts, it’s important to not forget about jewelry background retouching during the process. Even the smallest details can affect the entire quality of your image, so get rid of any blemish or distracting flaw that can take away the attention from the main subject of your photos.
At Paper Boat Creative, our team has delivered top-notch image manipulation services for jewelers and other businesses that want the best results from their image. Let our team erase those distracting features on your jewelry piece, its background, and its surrounding props so that your target audience only sees high-end flawless jewelry that they can appreciate.
Get in touch with our team today to learn more about our jewelry retouching services.